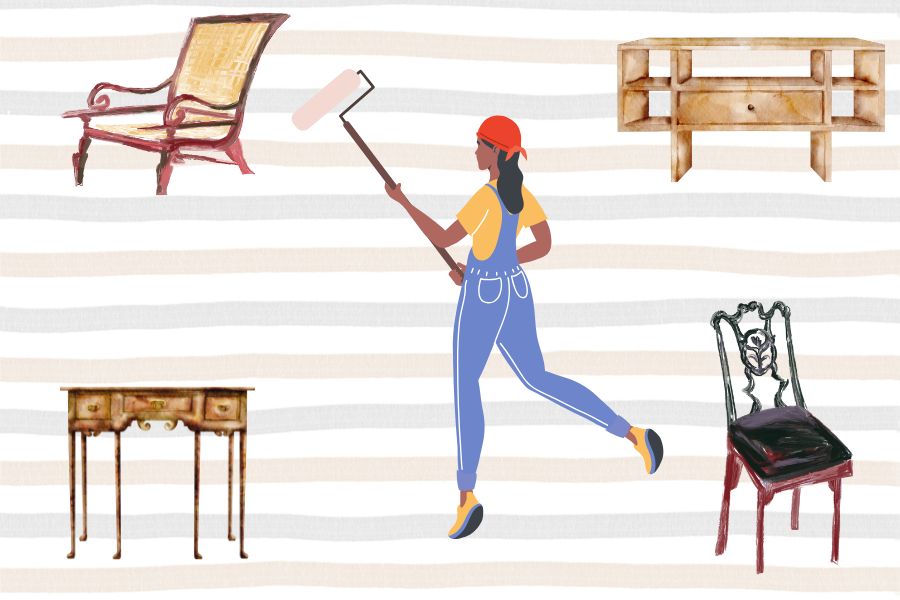
Our homes are an extension of ourselves. They provide shelter, warmth, and protection. But they also allow us to store our prized possessions. Sometimes the items we hold close to our hearts could use some sprucing up. That’s where decoupage can be useful. Not sure how to decoupage or what it means? Stick around to find out.
Decoupage is a French word that means decorating a surface with cutout paper and adhesive layers. If you grew up with a grandmother who treasured antique furniture you’re probably familiar with it.
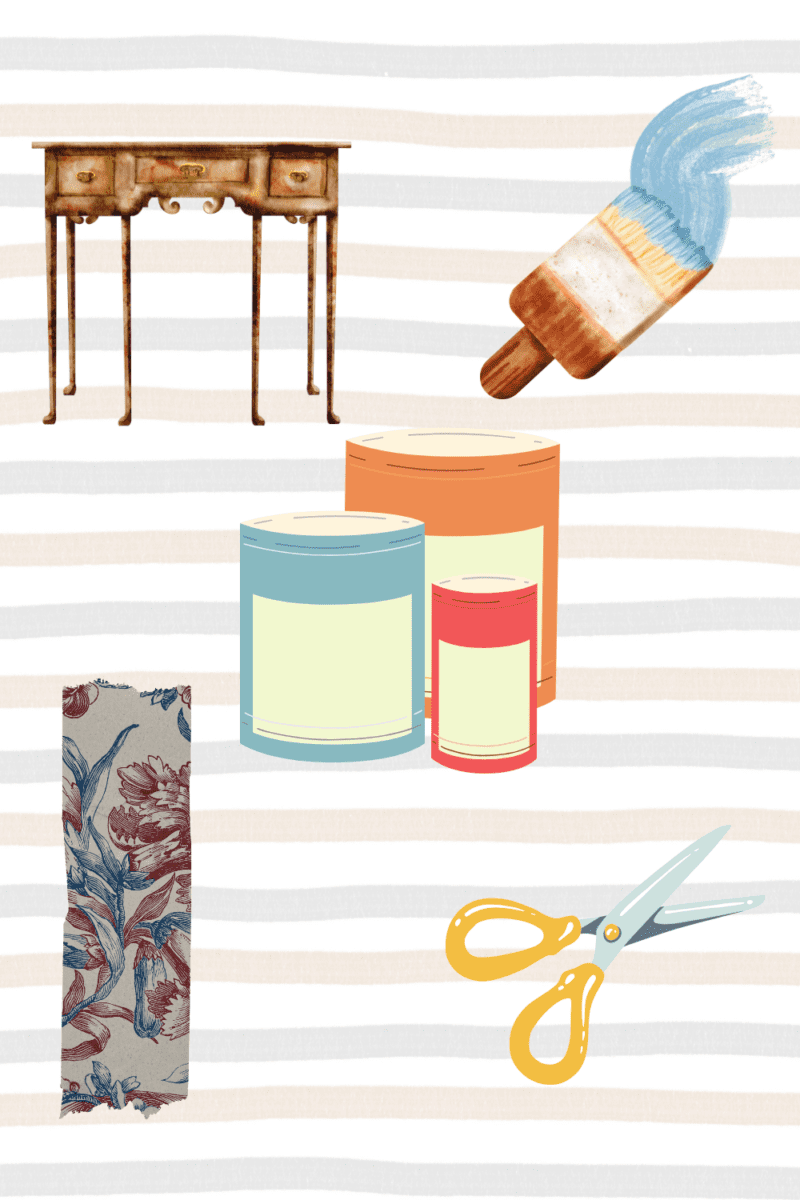
Materials Needed:
Object or Piece of Furniture
Decorative Paper
Scissors
Mor Podge or Adhesive
Paint Brush
Top Coat Sealer
Patience
Step 1
Select the furniture you want to decorate. If you’re going to use the top of the furniture like a stool or tray, use durable paper. But if you want to cover the front of a desk or dresser you can use any type of paper.
Step 2
Choose the paper you want to use. Anything can decoupaged. But sometimes using musical note paper, wrapping paper or wallpaper are the best options. Wrapping paper and wallpaper tend to be thicker and more durable. But items like musical note paper and napkins can be used too.
Whichever type of decorative paper you select remember it should be thicker if it’ll be on the top surface of an object.
Step 3
Next is sanding down the surface if necessary. If the wood is older and damaged you may need to repair the surface.
If the wood is newer and in good condition then cleanse it to remove dirt. It’ll allow the paper to stick better.
Step 4
Paint the furniture before applying the paper. Allow it to dry before applying the paper.
Step 5
Trace the paper to the shape of the side you’re using.
Step 6
Cut the paper slowly so you don’t tear it. Patience is necessary when decoupaging items. But you should also have confidence in what you’re doing even if you are a beginner.
Step 7
Apply the paper to the piece of furniture.
Step 8
Mod Podge is a popular choice for sticking paper to furniture. You can also use the spray-on version or another adhesive brand.
Step 9
Trim any excess paper off the edges with scissors. Then wipe the area clean with a cloth to remove dirt or dust.
Step 11
Apply a topcoat sealant or a water-based sealer and set the pieces of furniture aside to allow them to dry.
After you’ve completed the necessary steps, you can show off your work to family and friends. Try posting pictures of videos on social media. Invite your relatives over for dinner so that can admire the work you did. Everyone loves a good makeover story. So, be sure to have before and after pictures to add to the wow effect.
If you like decoupaging furniture consider turning your hobby into a side hustle. Finding old pieces of furniture online, at Goodwill, or yard sales is simple. Then you can turn around and sell them for a reasonable price.
